Philippe Wyder
Topology Optimized Desk Rendering

Topology Optimized Desk Rendering

Topologically-Optimized Desk

In this toy optimization project, the design of both a chair and a desk start from a square box. I applied symmetry and shape constraints, as well as forces and loads to generate a weight optimized geometry without reducing functionality. This desk and chair are both 3D printable in Nylon and could stand normal use by a person weighing less than 250lbs.

This project provided a low-stakes opportunity to explore wide range of tools from nTopology Element, Altair Inspire, and Fusion360. The FEA was performed in Fusion360. The chair lattice structure was generated using nTopology’s Element software. The desk was further optimized and fitted with polynurb surfaces in Altair Inspire. Finally, in a further optimization step, I applied Inspire’s mixed lattice design abilities to shed additional weight while maintaining the desired rigidity.

Parametric CNC Chair

image2.png

In an effort to demonstrate the power of simple 2D CNC routing…

…my colleague Andrew and I designed and manufactured a multi-material, layered chair. The chair was used as a demonstration piece at the opening of the new Columbia Maker Space in January of 2020. The design was inspired by other stacked chair designs. Our design can be parametrically adjusted by changing the seat height and seat-back angle. All wood parts were cut on the Columbia Makerspace ShopBot CNC router, and then manually finished and assembled. We used a mix of plywood and MDF parts. The entire assembly is held together by heavy duty threaded steel rods and lock nuts. This mix of materials resulted in a chair that is both elegant and industrial looking.

4-Axis CNC-Lathe Finger Ring

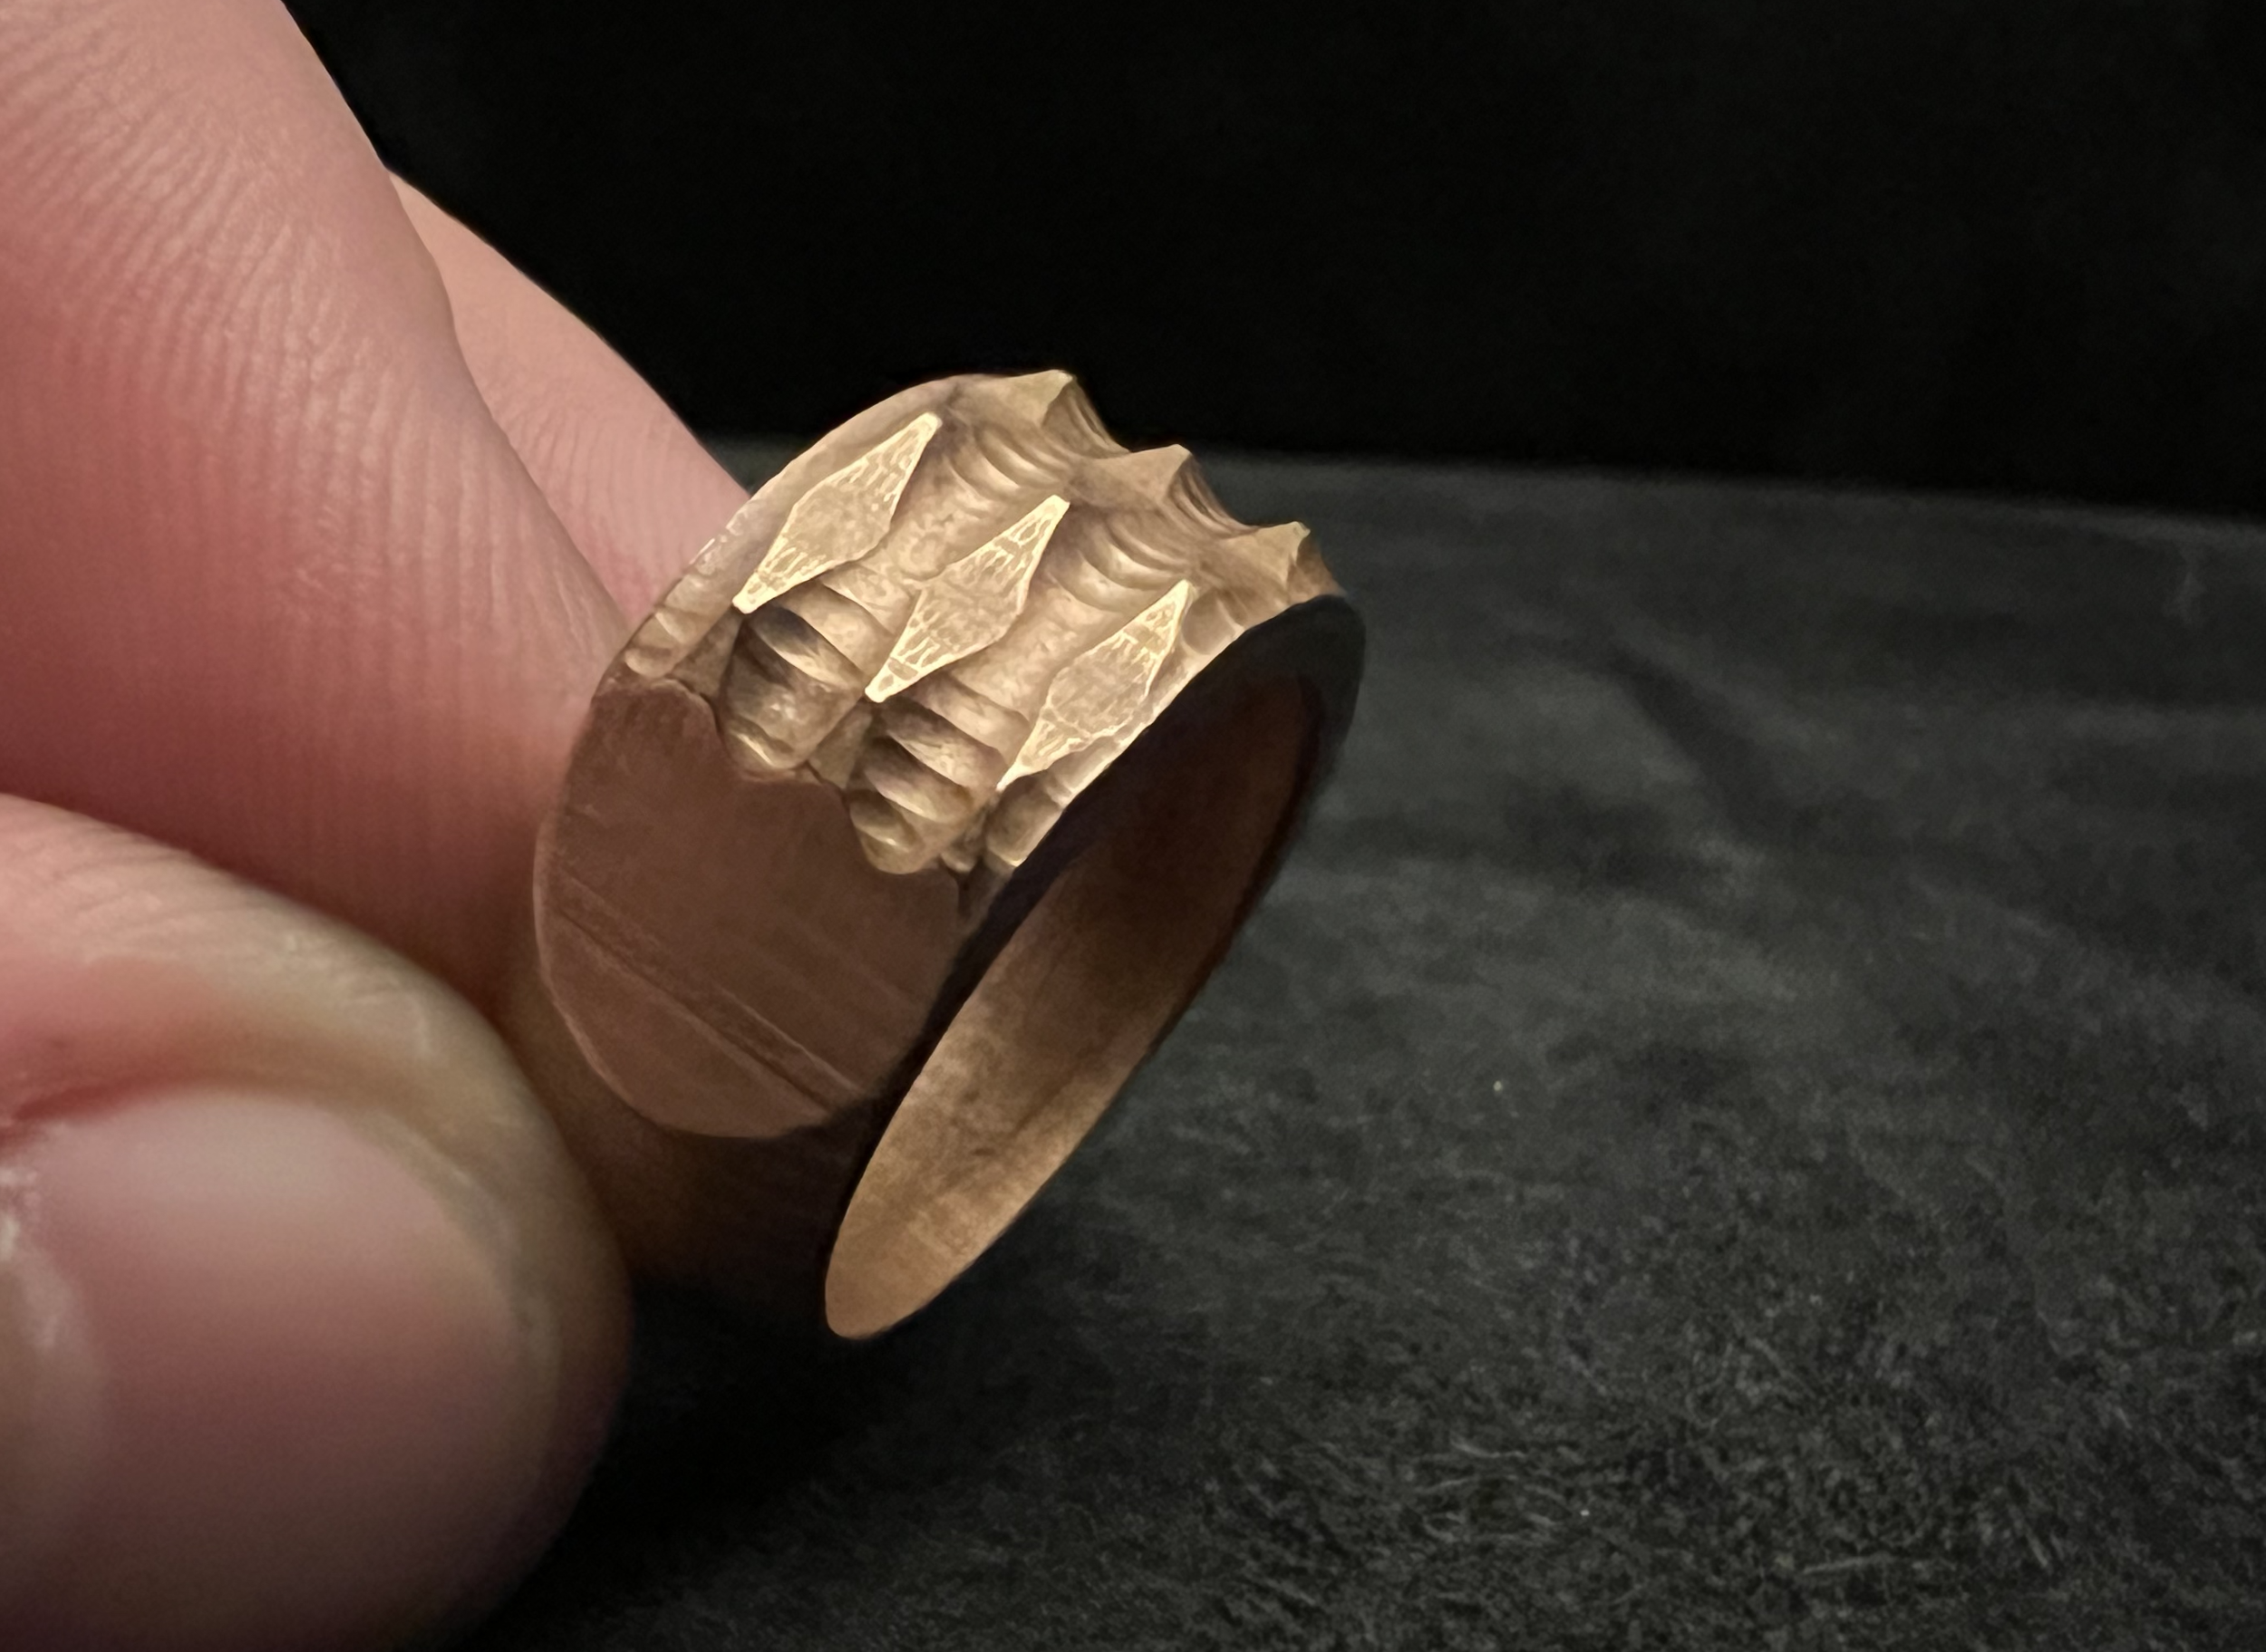
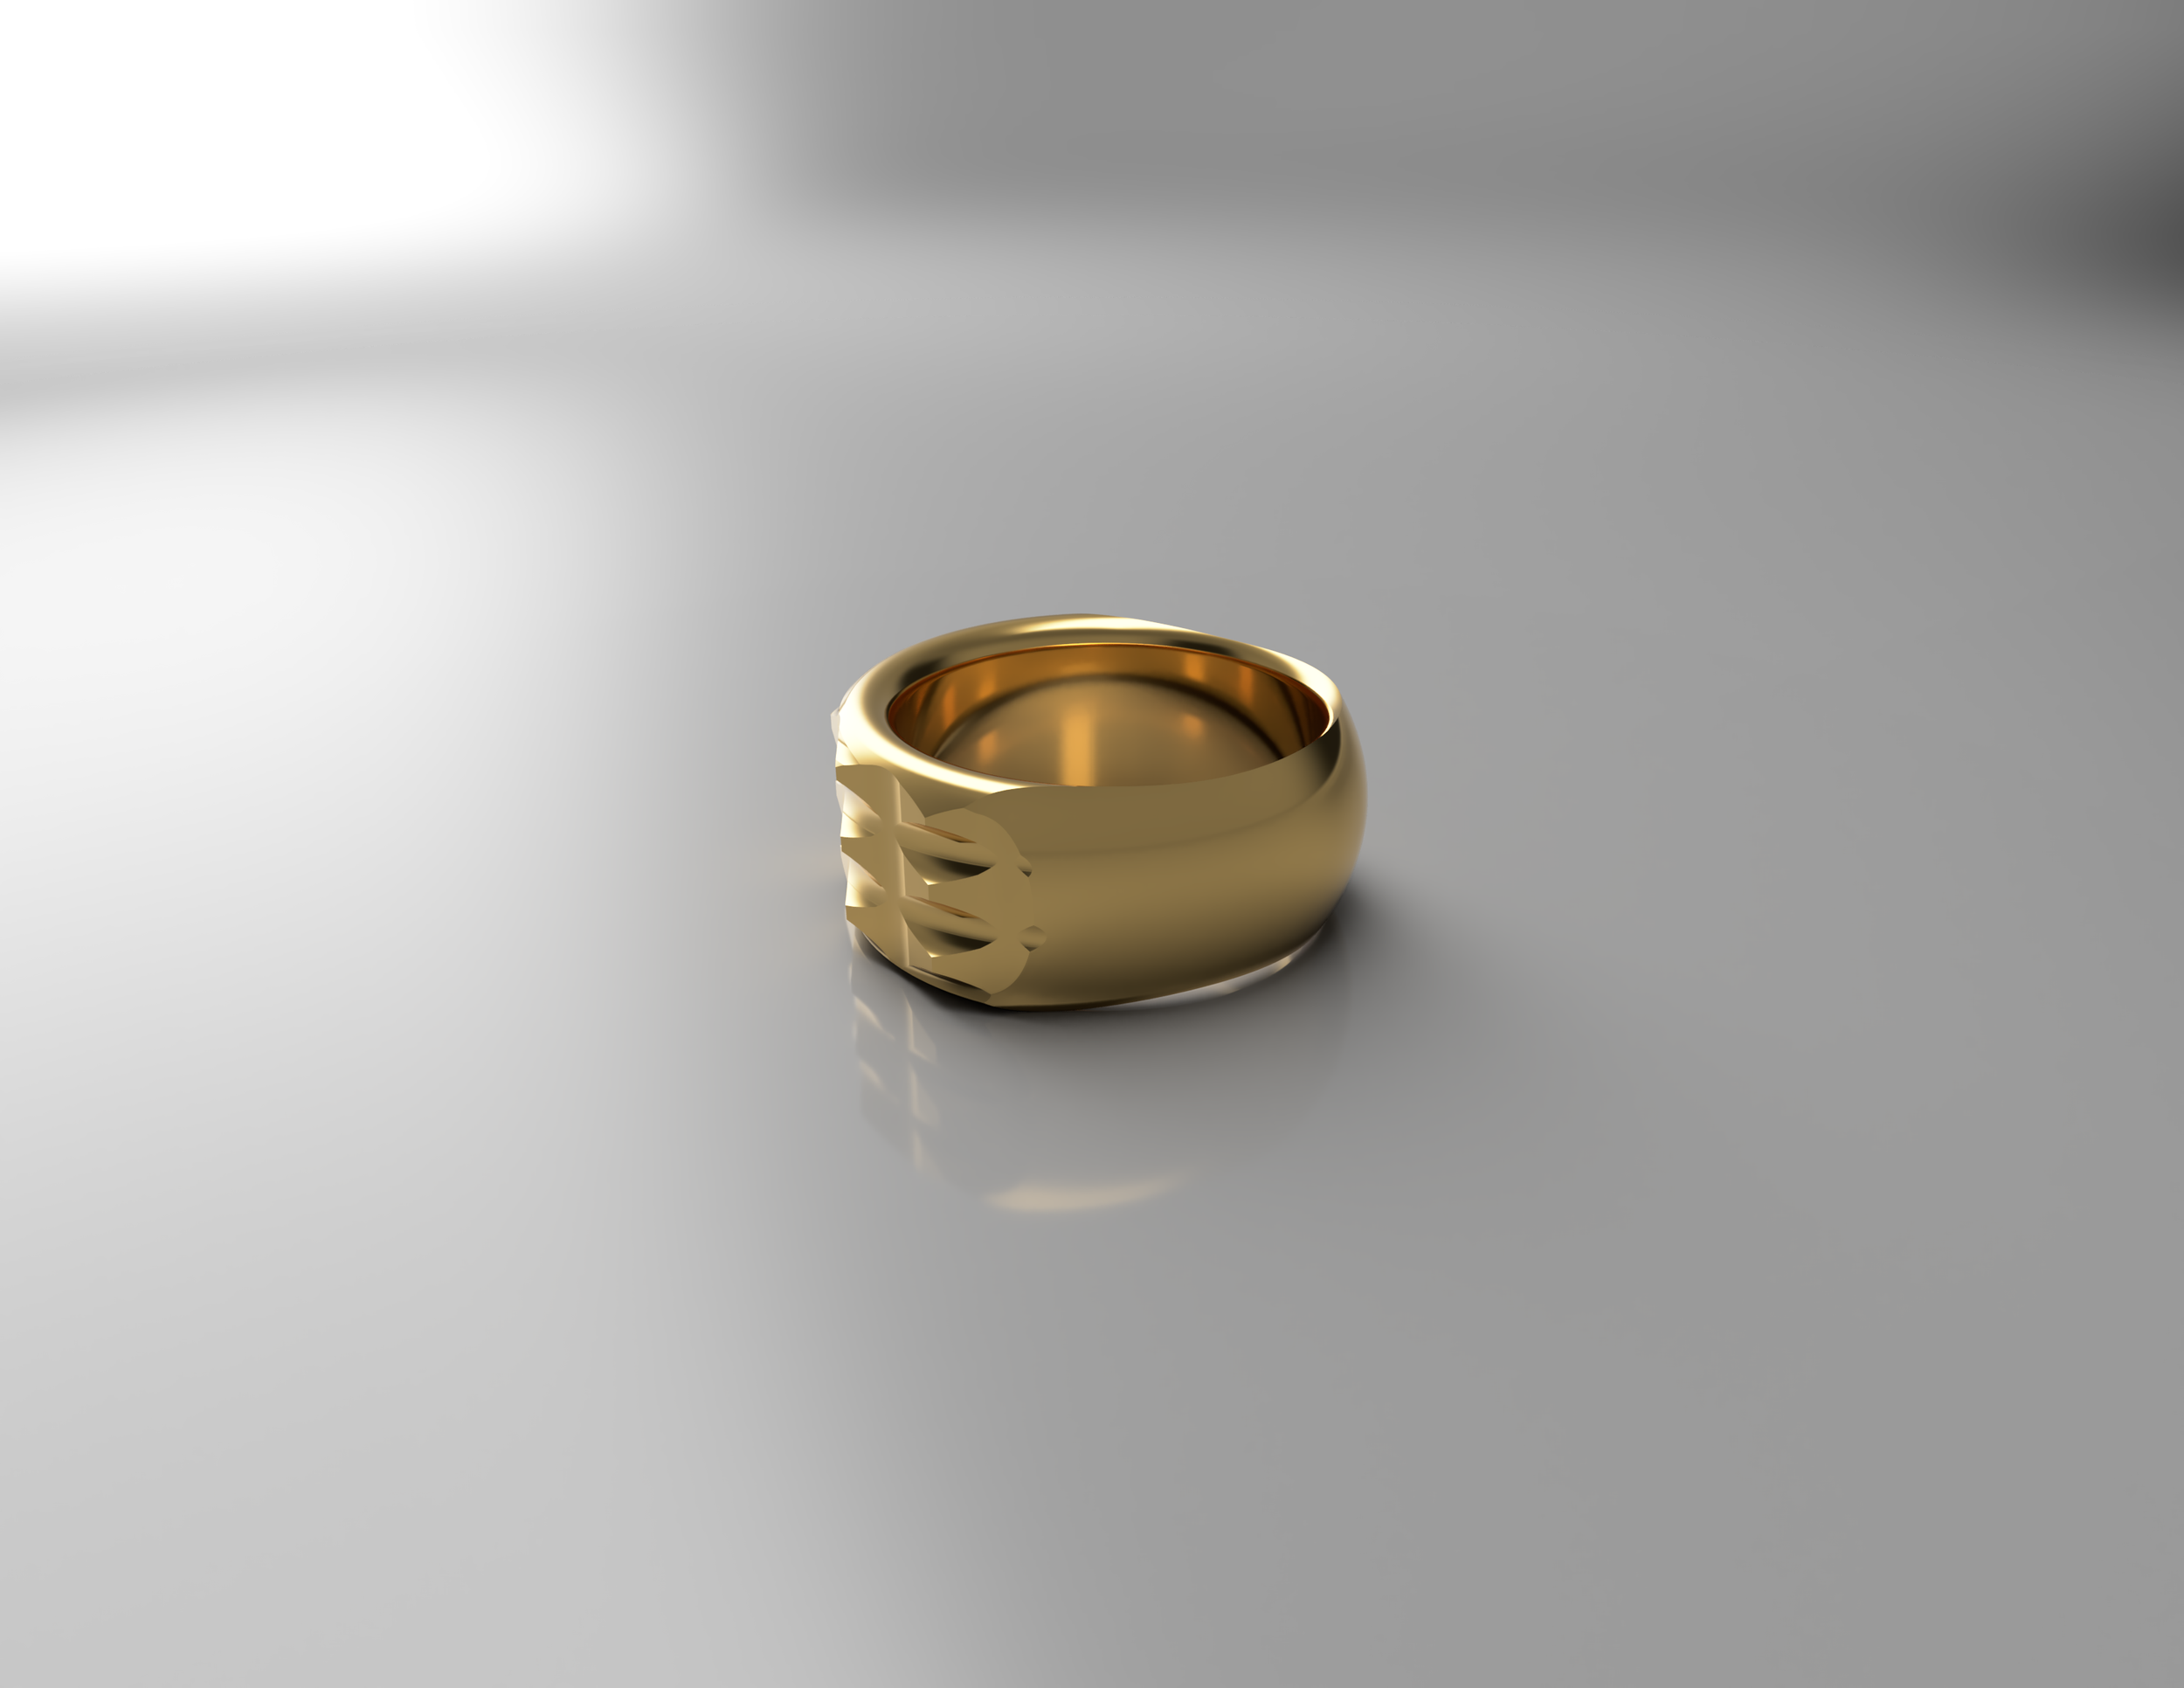
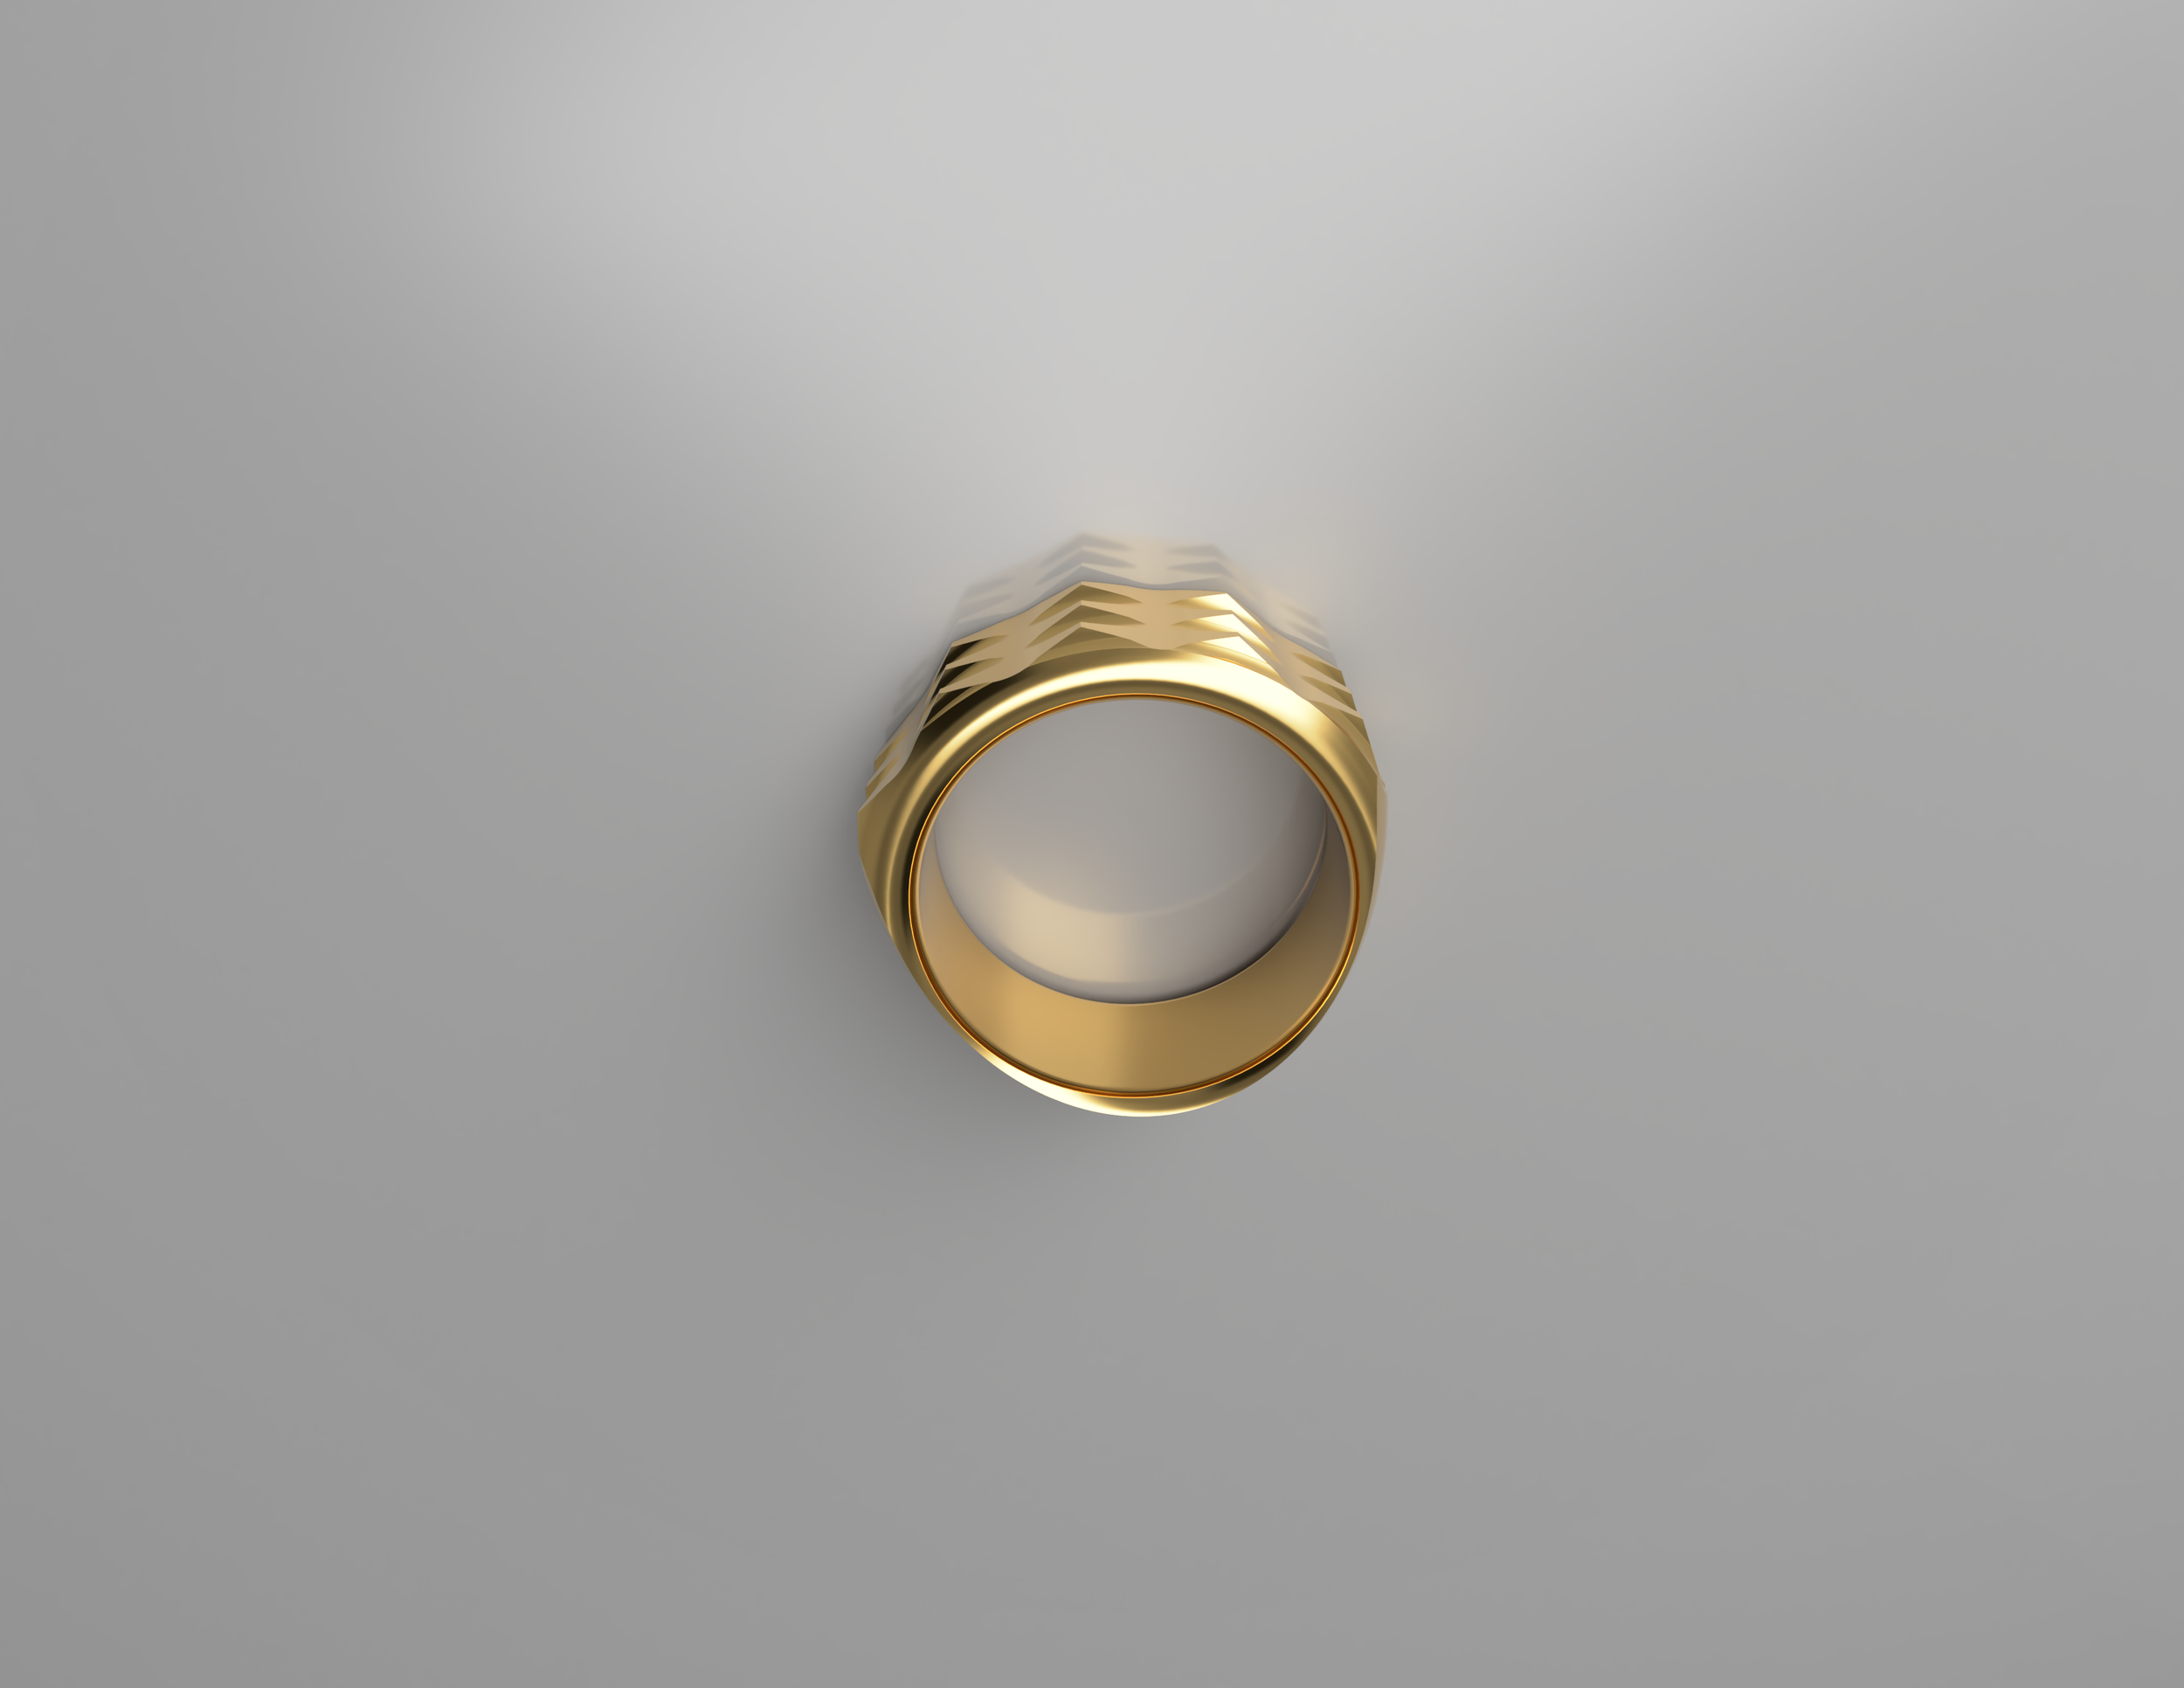
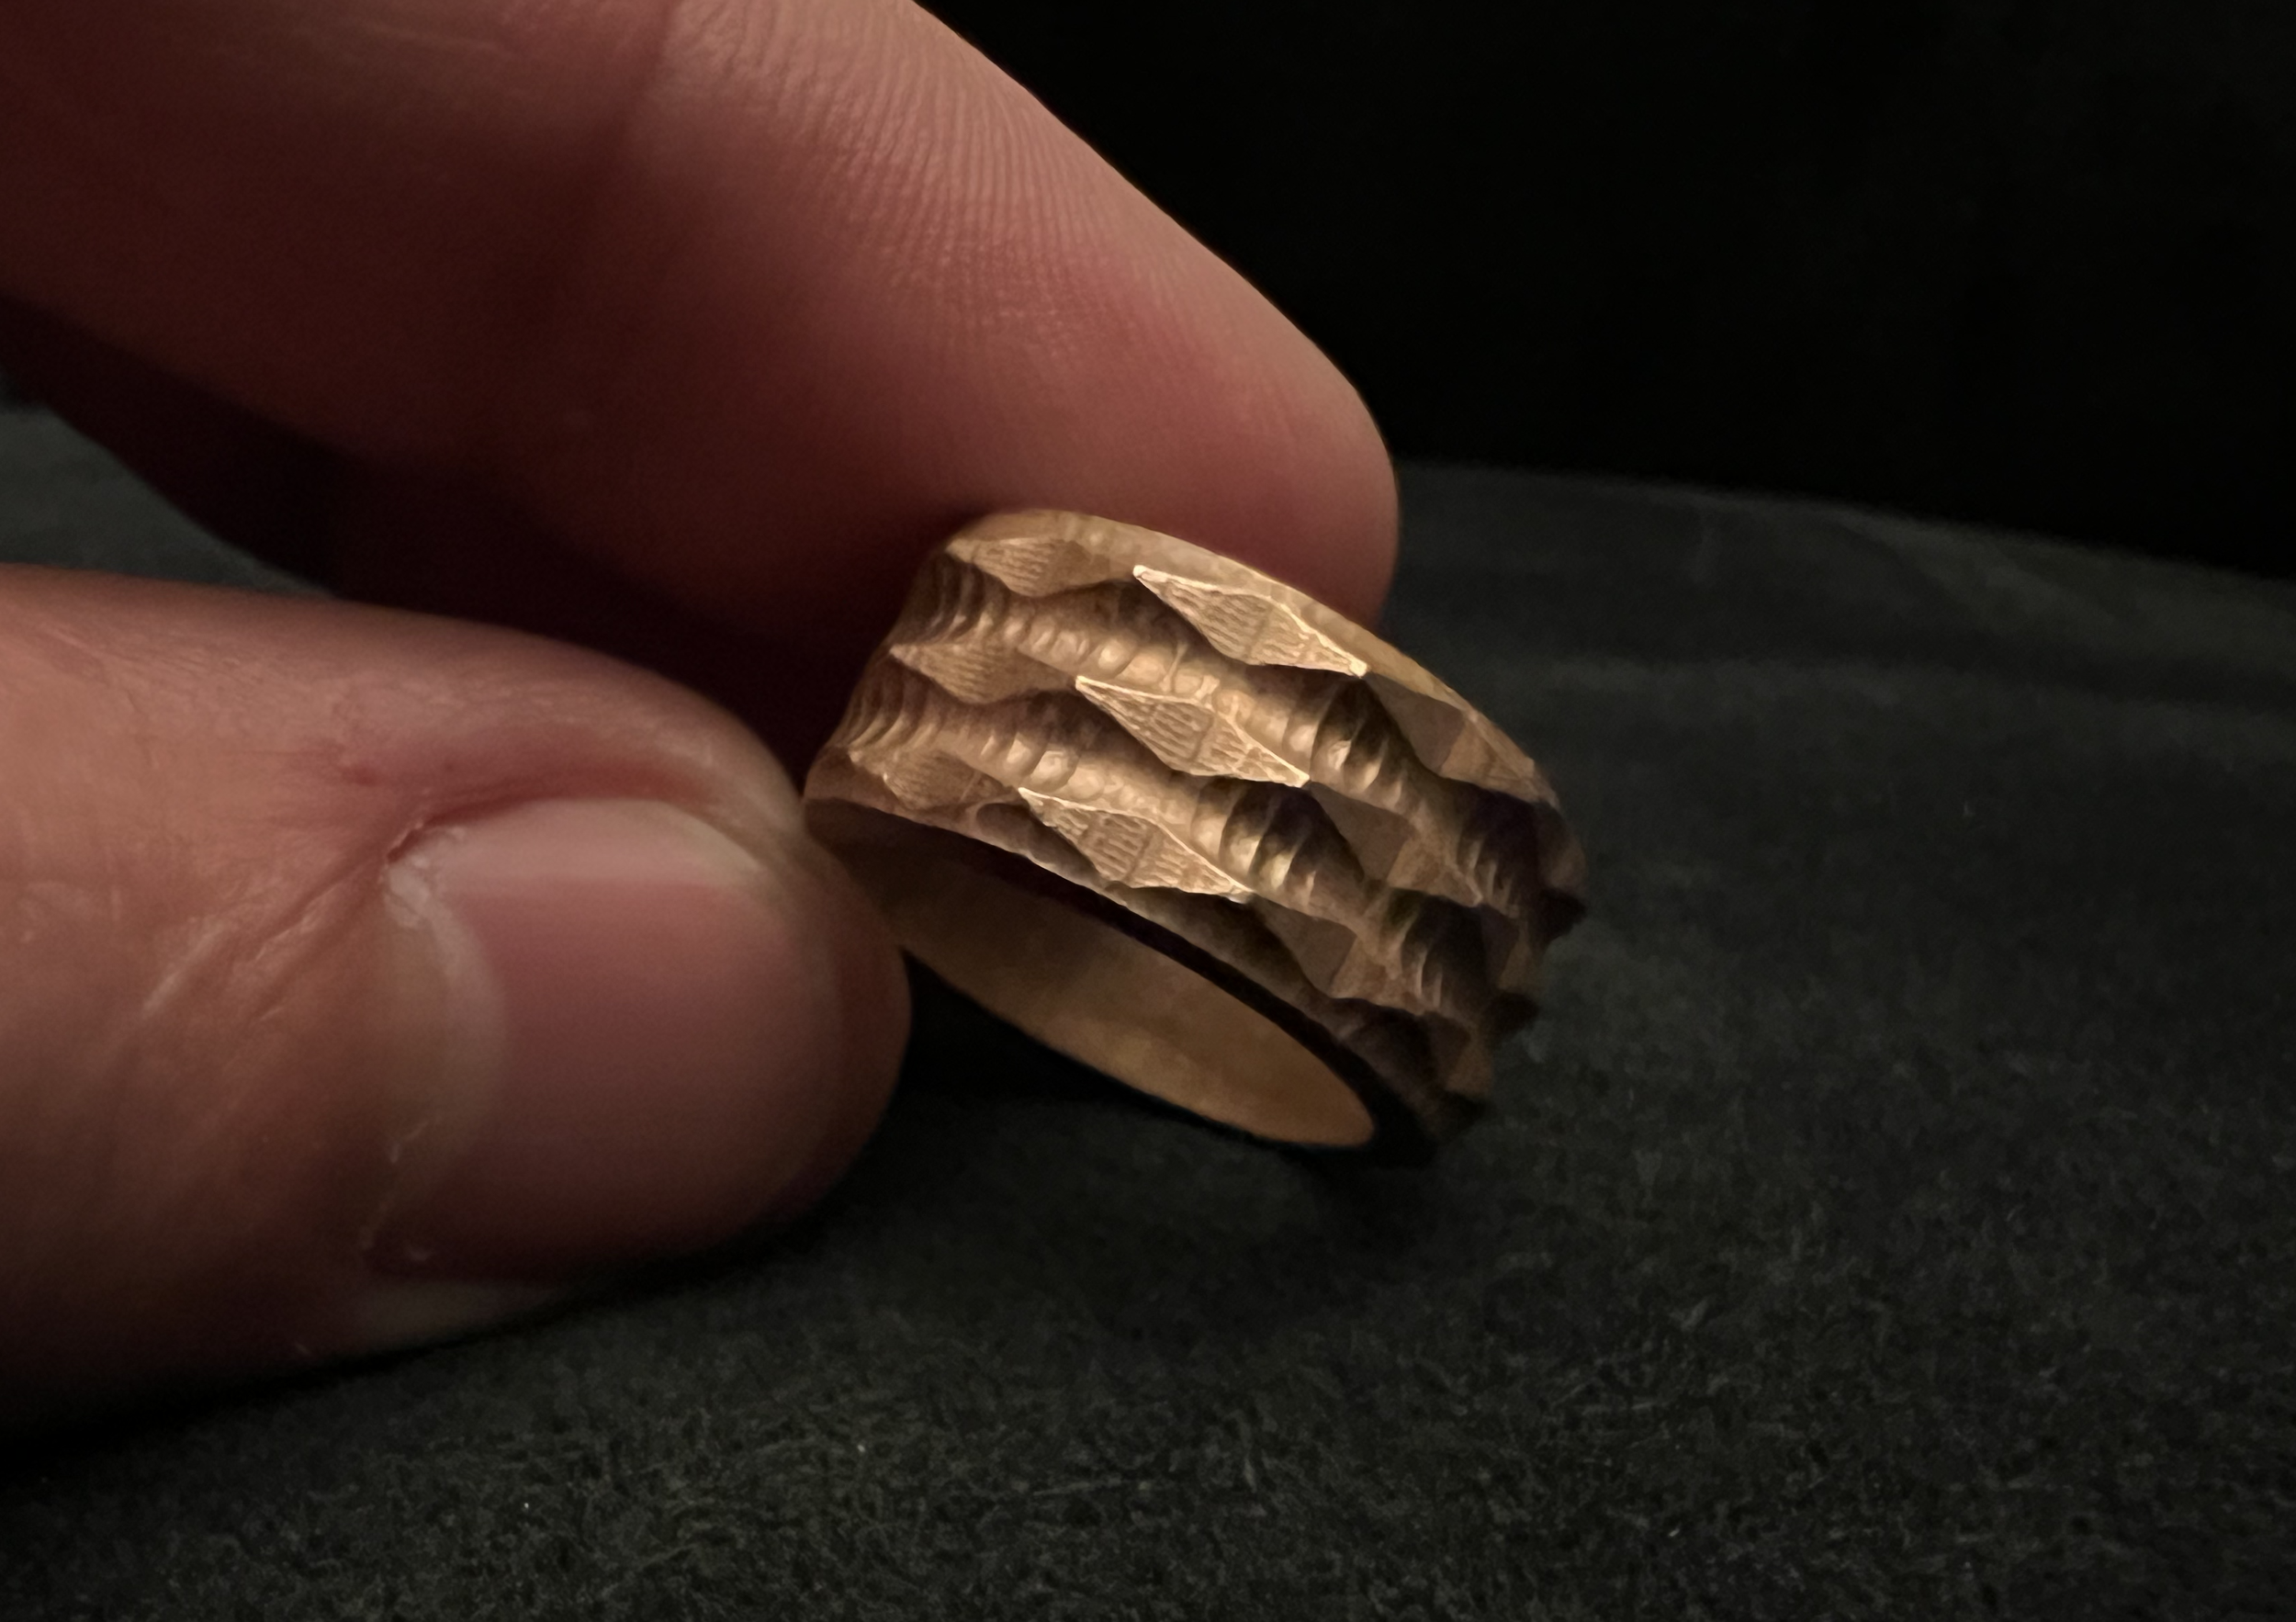
Vortex V10 Manufactured in Brass

From idea to realization

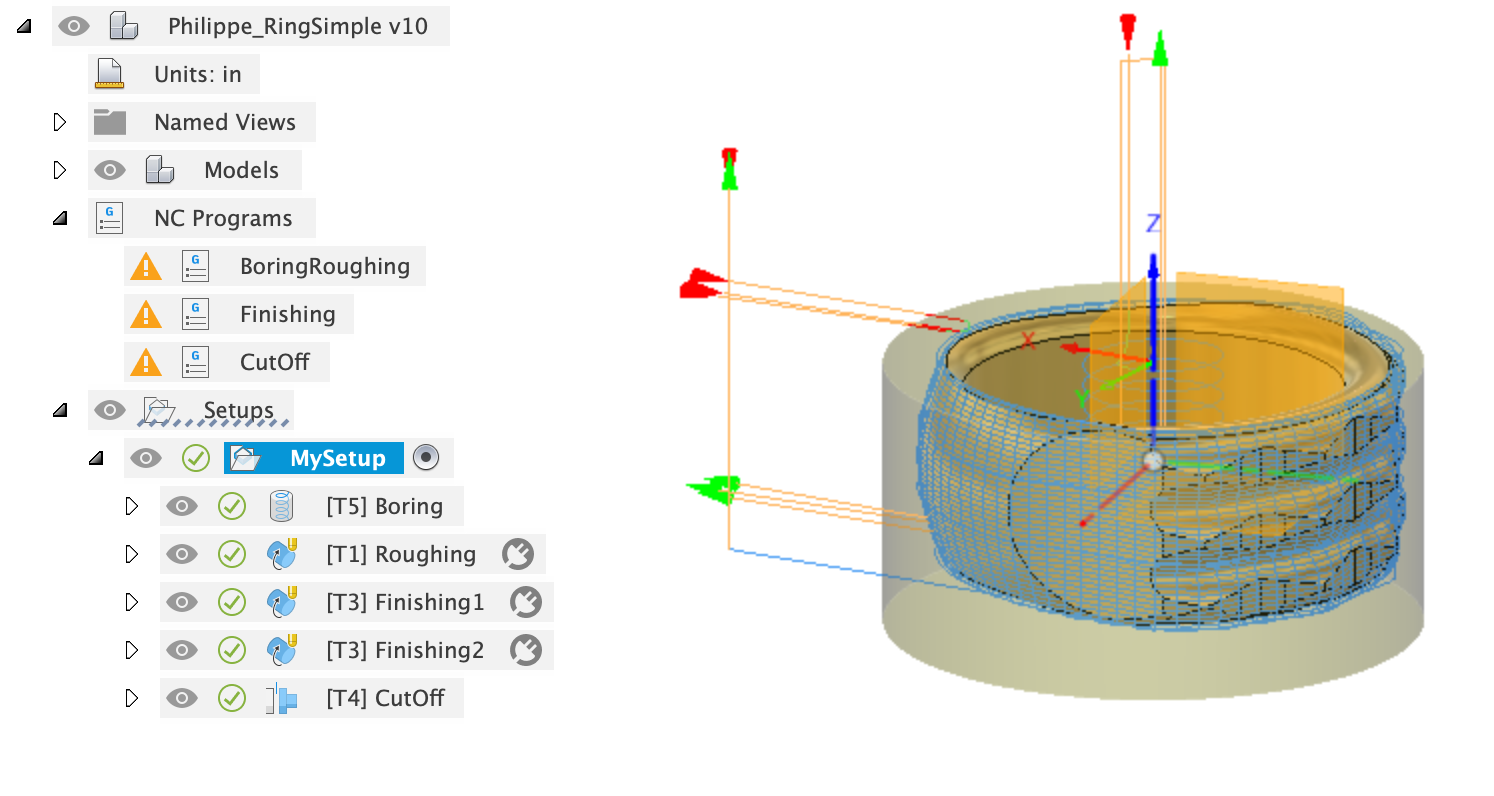
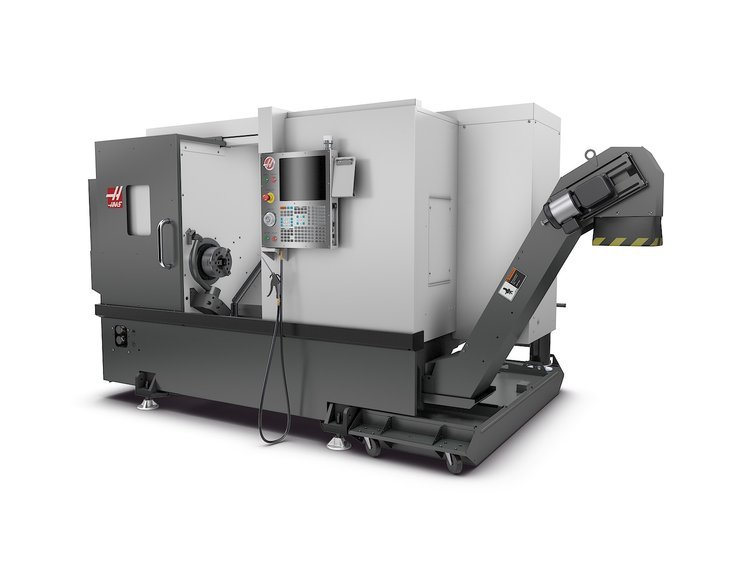
Adding just one additional axis to a lathe opens up a world of possibilities that are unimaginable on a 3-axis machine. The prospect of 4-axis machining excited me to make my own piece of jewelry: a custom designed brass ring. The ring design was inspired by counter rotating vortices. I wanted to capture the dynamic aspects of a vortex on this aggressive, and yet delicate ring design. The design was realized on a Haas ST-20Y CNC-Lathe. The resulting ring showed tool marks that provide the ring with a hammered metal look, which I preferred to a polished look.

shadowlight05.jpg

StarFish Shadow Light

This candle light was generatively designed in openSCAD in three parts. The beam structure, as well as the candle holder, was then converted into a uniform lattice. Finally, all three parts were combined into a coherent whole.

The design is inspired by a starfish caught in an underwater vortex. The five lattice beams represent the legs of the starfish, and the cone shaped water droplets form the shape of the vortex.

The model is currently for sale on Shapeways.

Digital Food Printing

In this project, our team developed a G-Code generator to 3D print food on an X-Carve based food-printer. We designed a star-shaped cookie with a twisted meringue tetrahedron on top. The cookie consisted of four different separately extruded materials and was torch cooked layer-by-layer throughout the print process. The biggest challenge consisted in writing code that would be resilient enough to work even in the face of changing material properties due to temperature changes, and adopting syringe filling techniques and raw-material preparation techniques that would minimize these changes.


Parallel Jamming Gripper


The goal of this project was to build a jamming gripper that can perform three challenging robotic manipulation tasks: pick-up a cup, a paperclip, and a cotton ball. While picking up a cotton ball and a cup is easily achievable with a simple parallel gripper design, picking up a paper clip is very challenging. On the other hand, a jamming gripper picks-up a cup and a paper clip with ease, but struggles to pick-up soft items, such as a cotton ball. We tried to get the best of both worlds and developed a parallel jamming gripper. All parts of our system were custom built.

Initially, we tried to build a ferromagnetic jamming gripper, since that would eliminate the challenges of operating a pneumatic system. However, after initial tests, we had to abandon the idea due to budget and time constraints.

Old School Drone & Ground Station

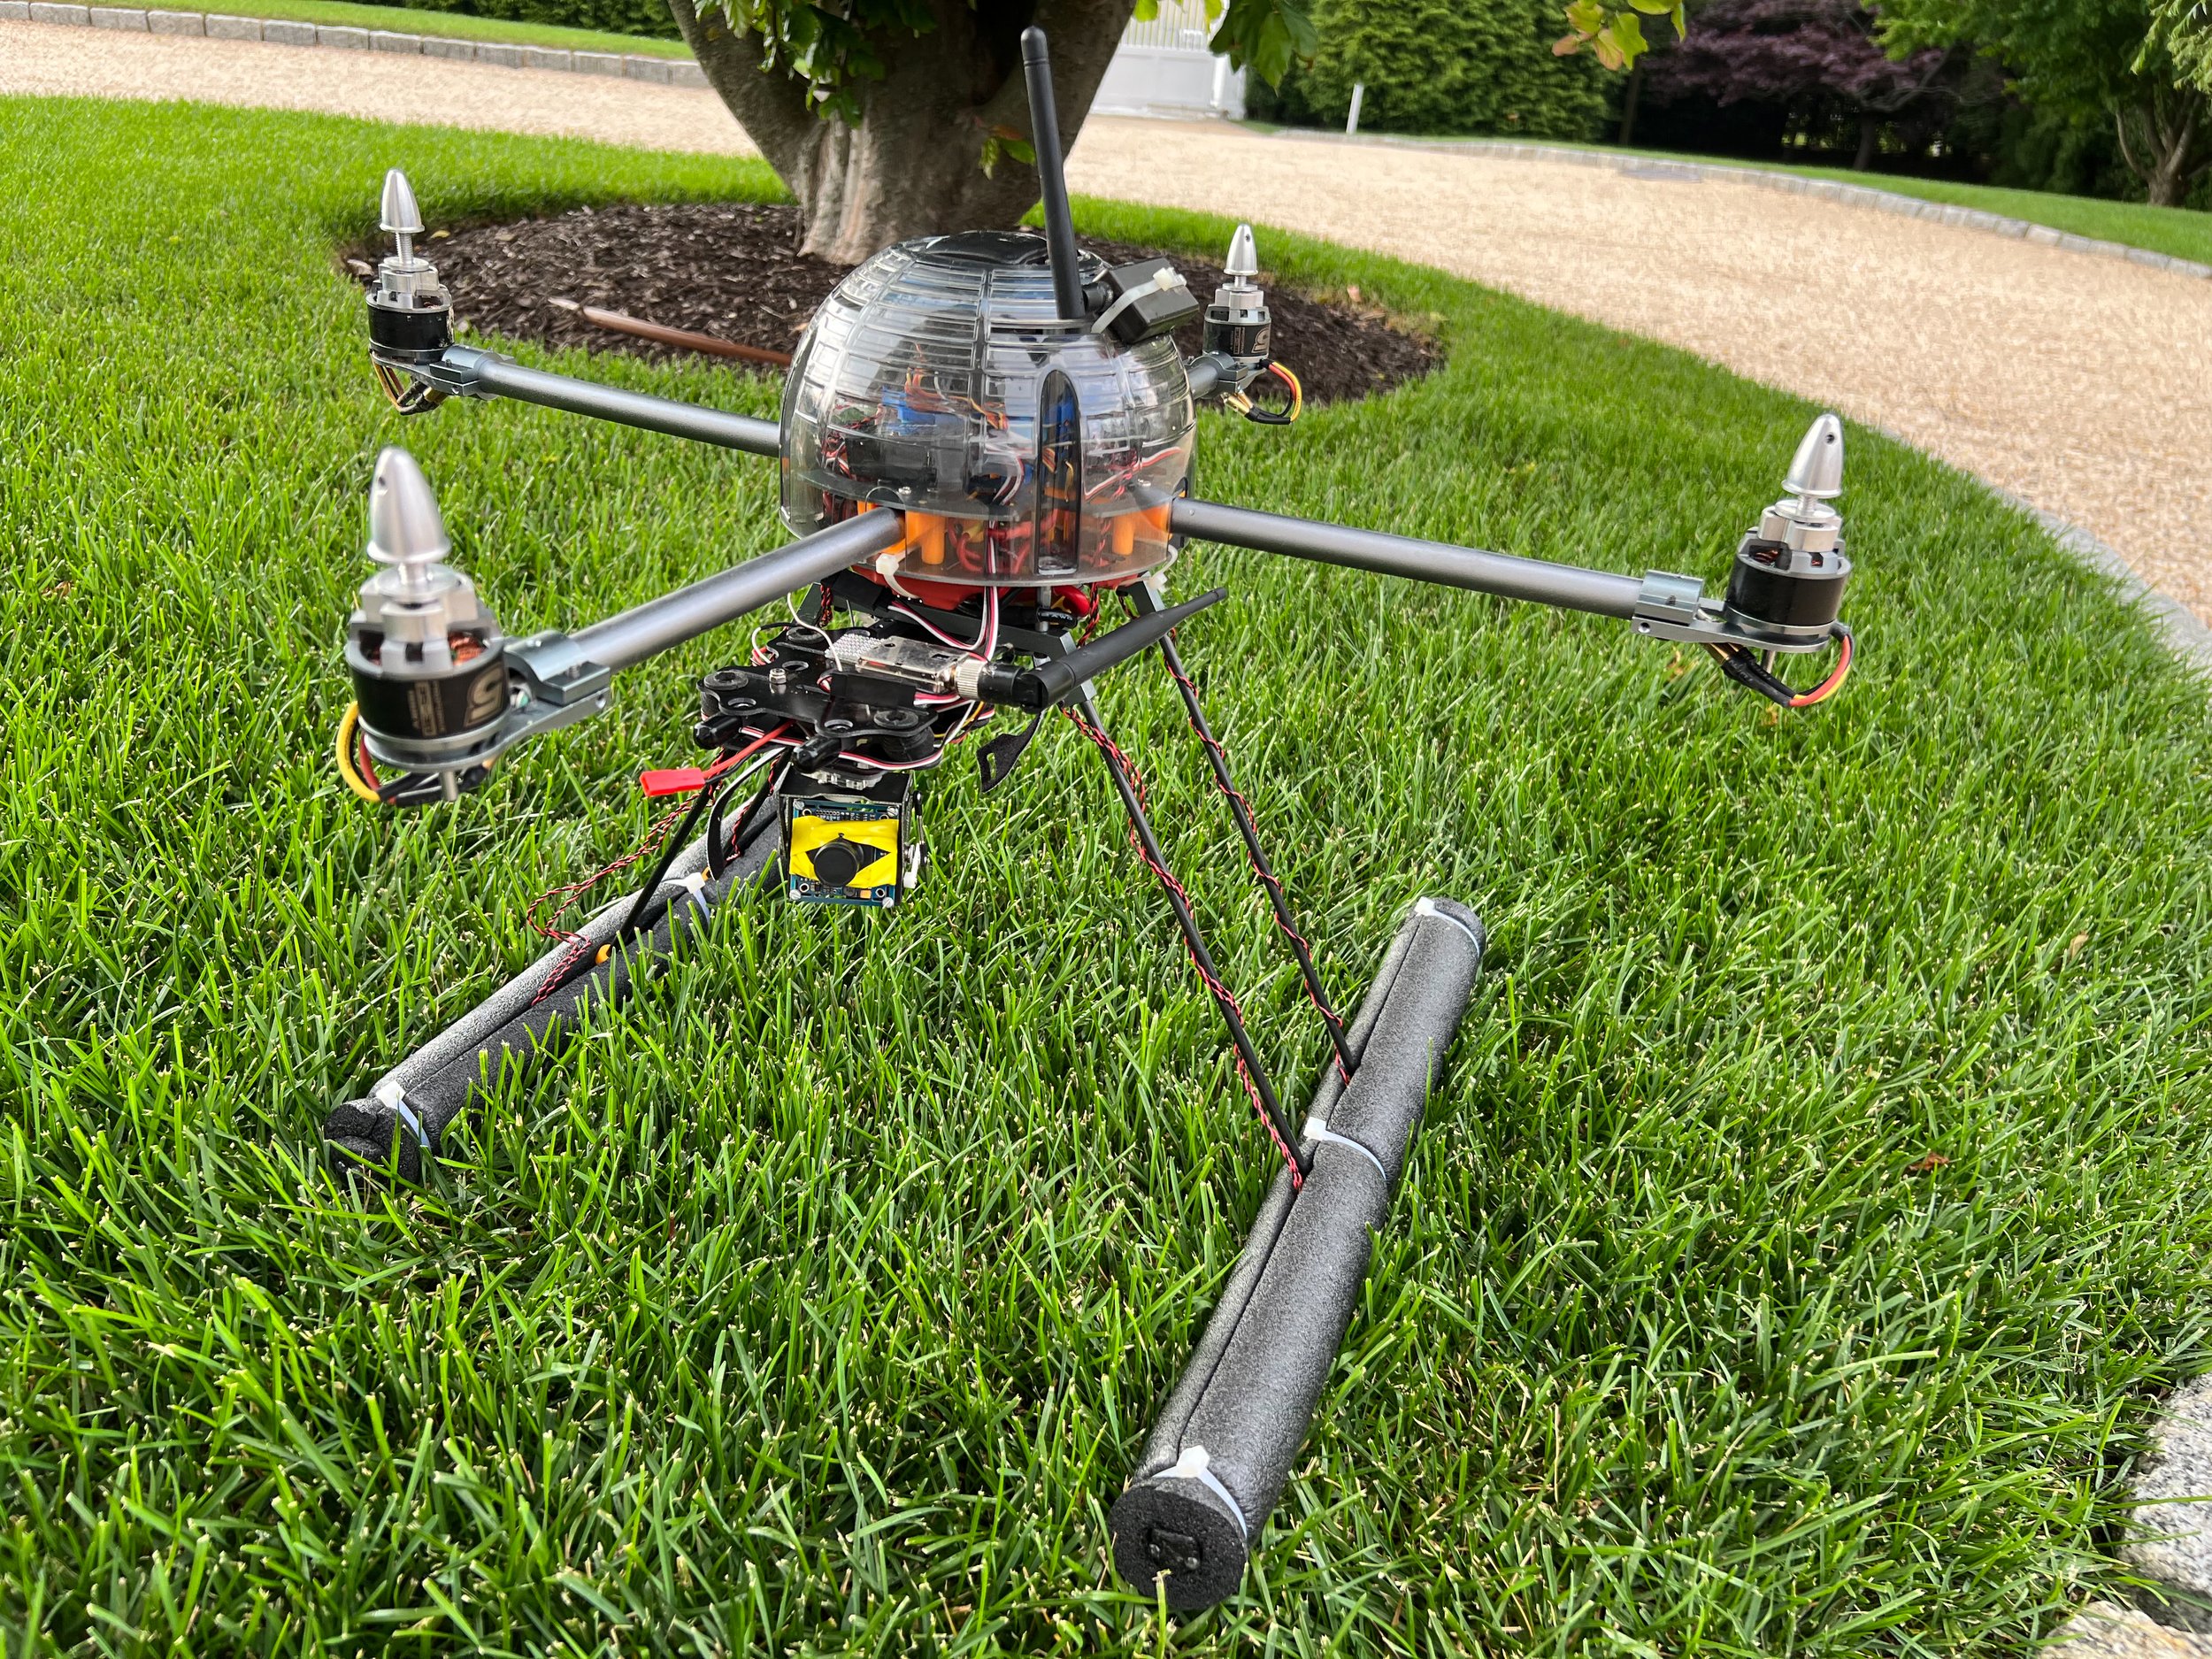
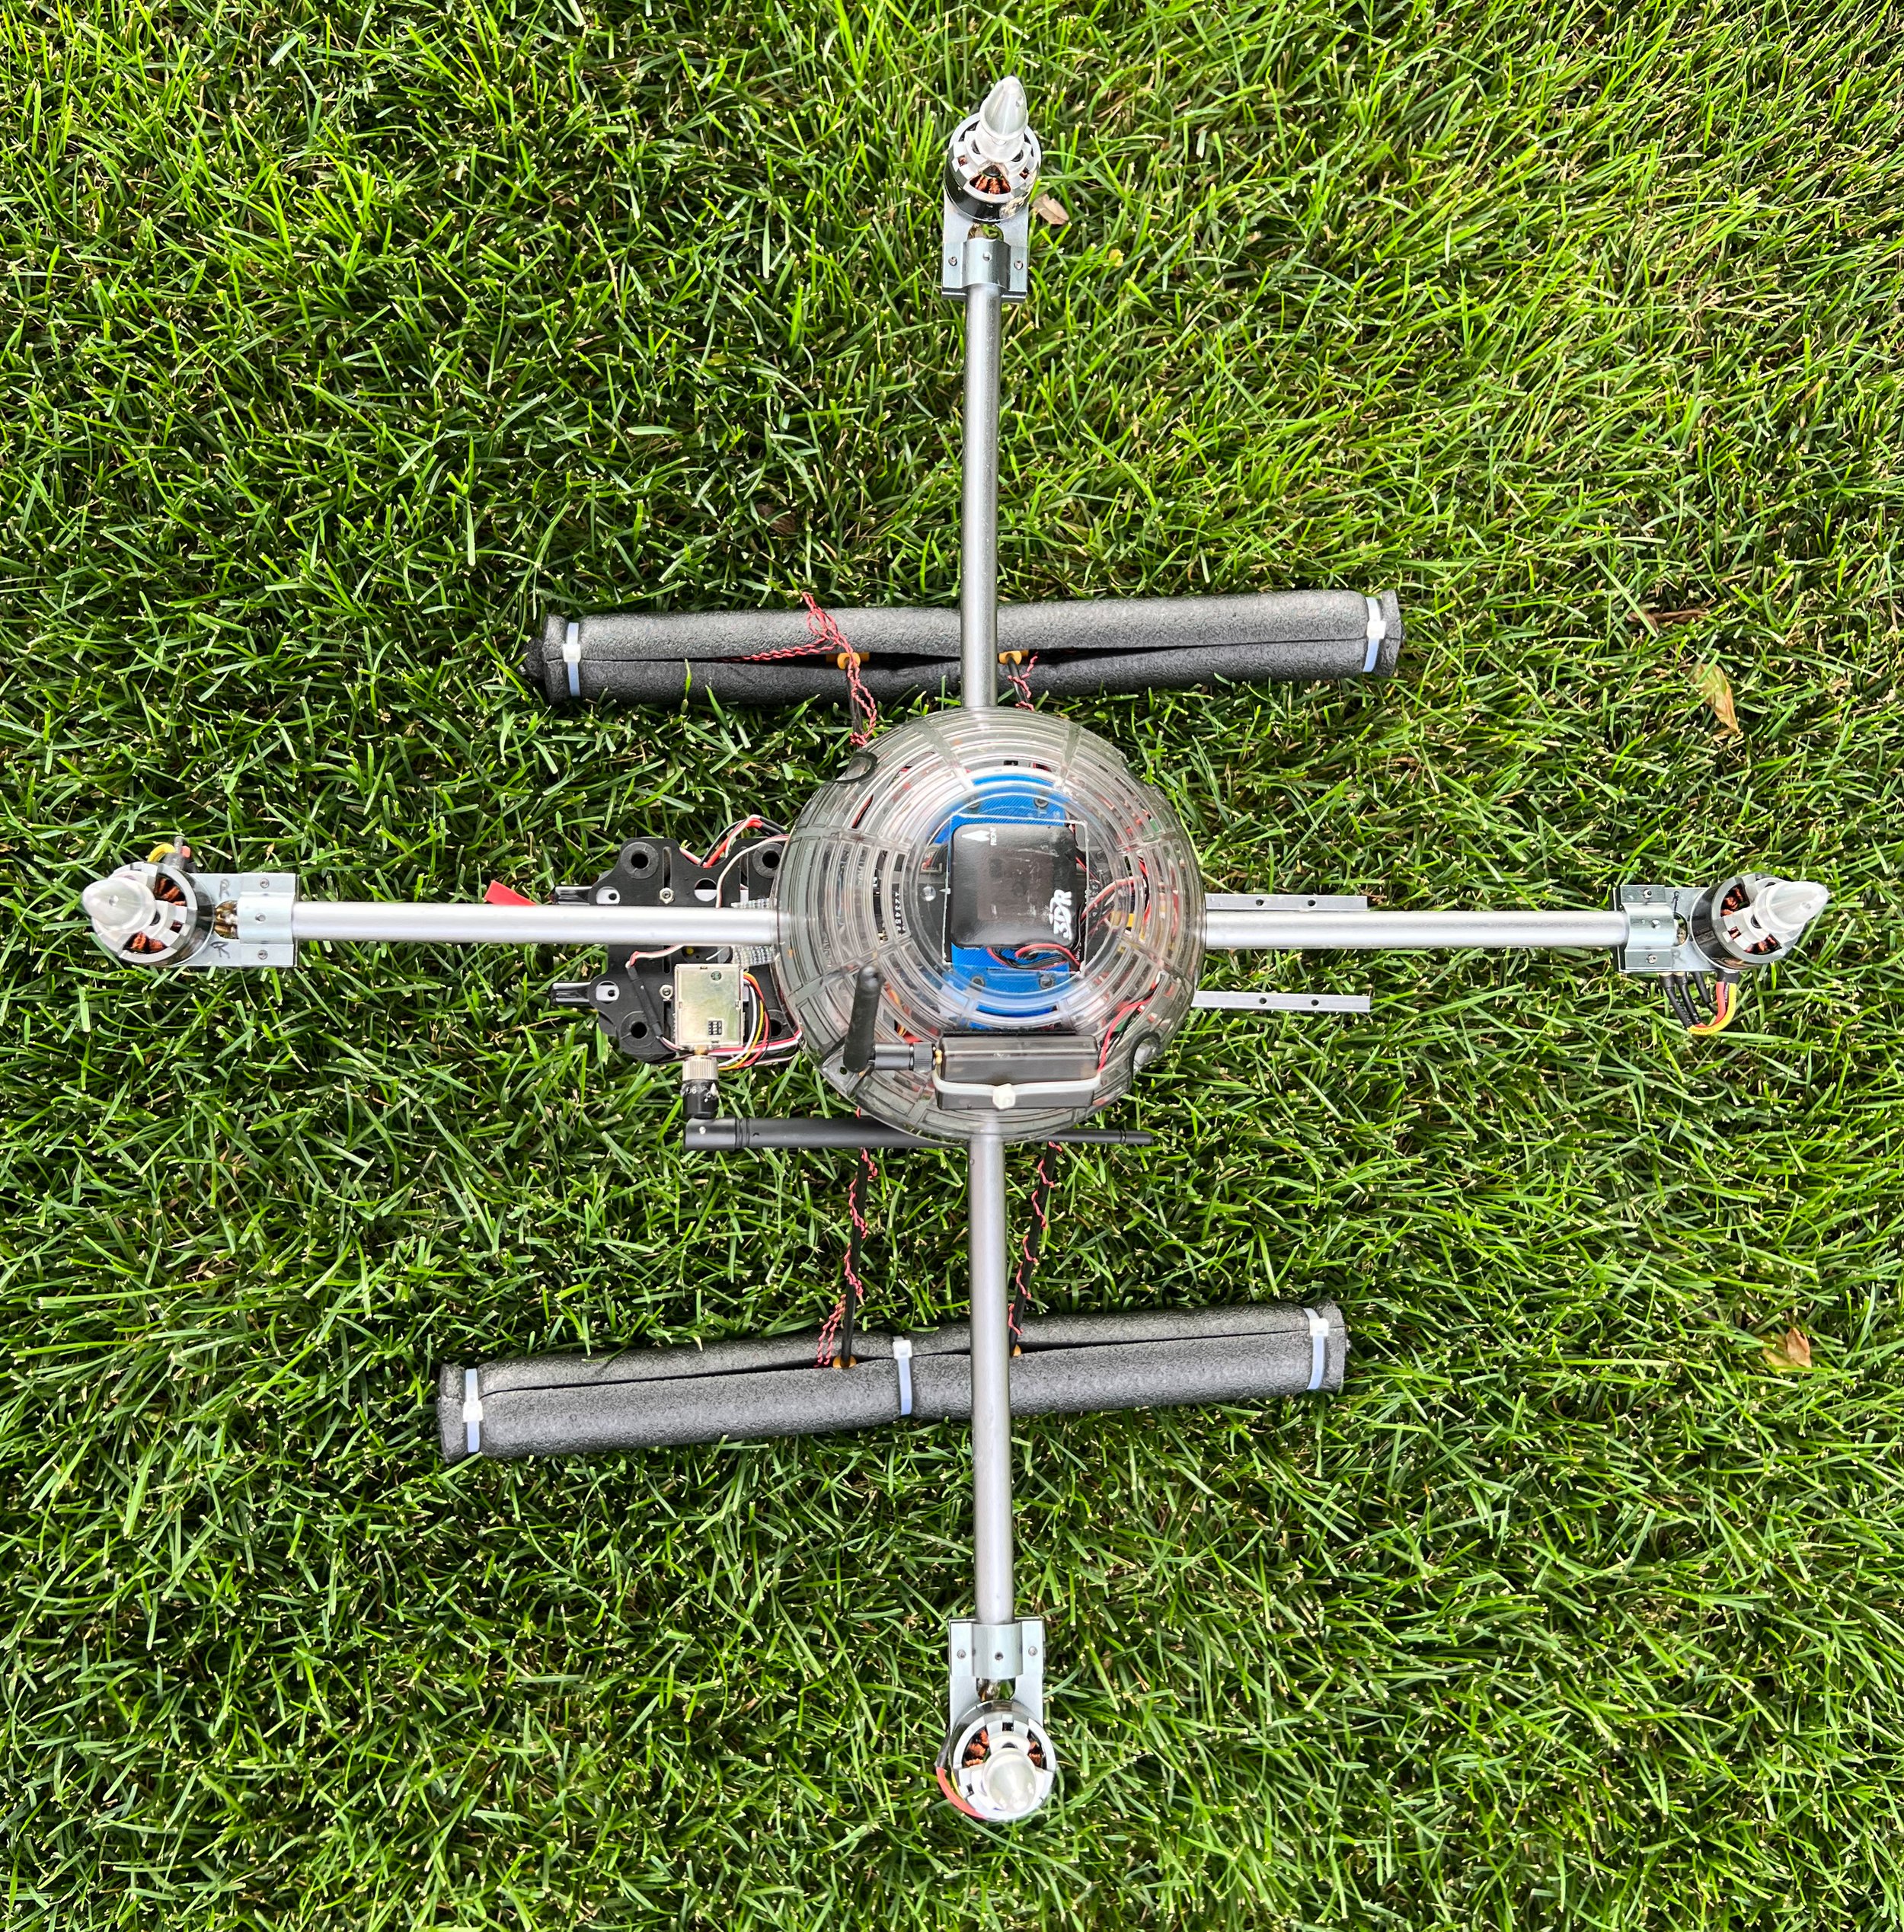
In an effort to make a hobby drone look more professional…

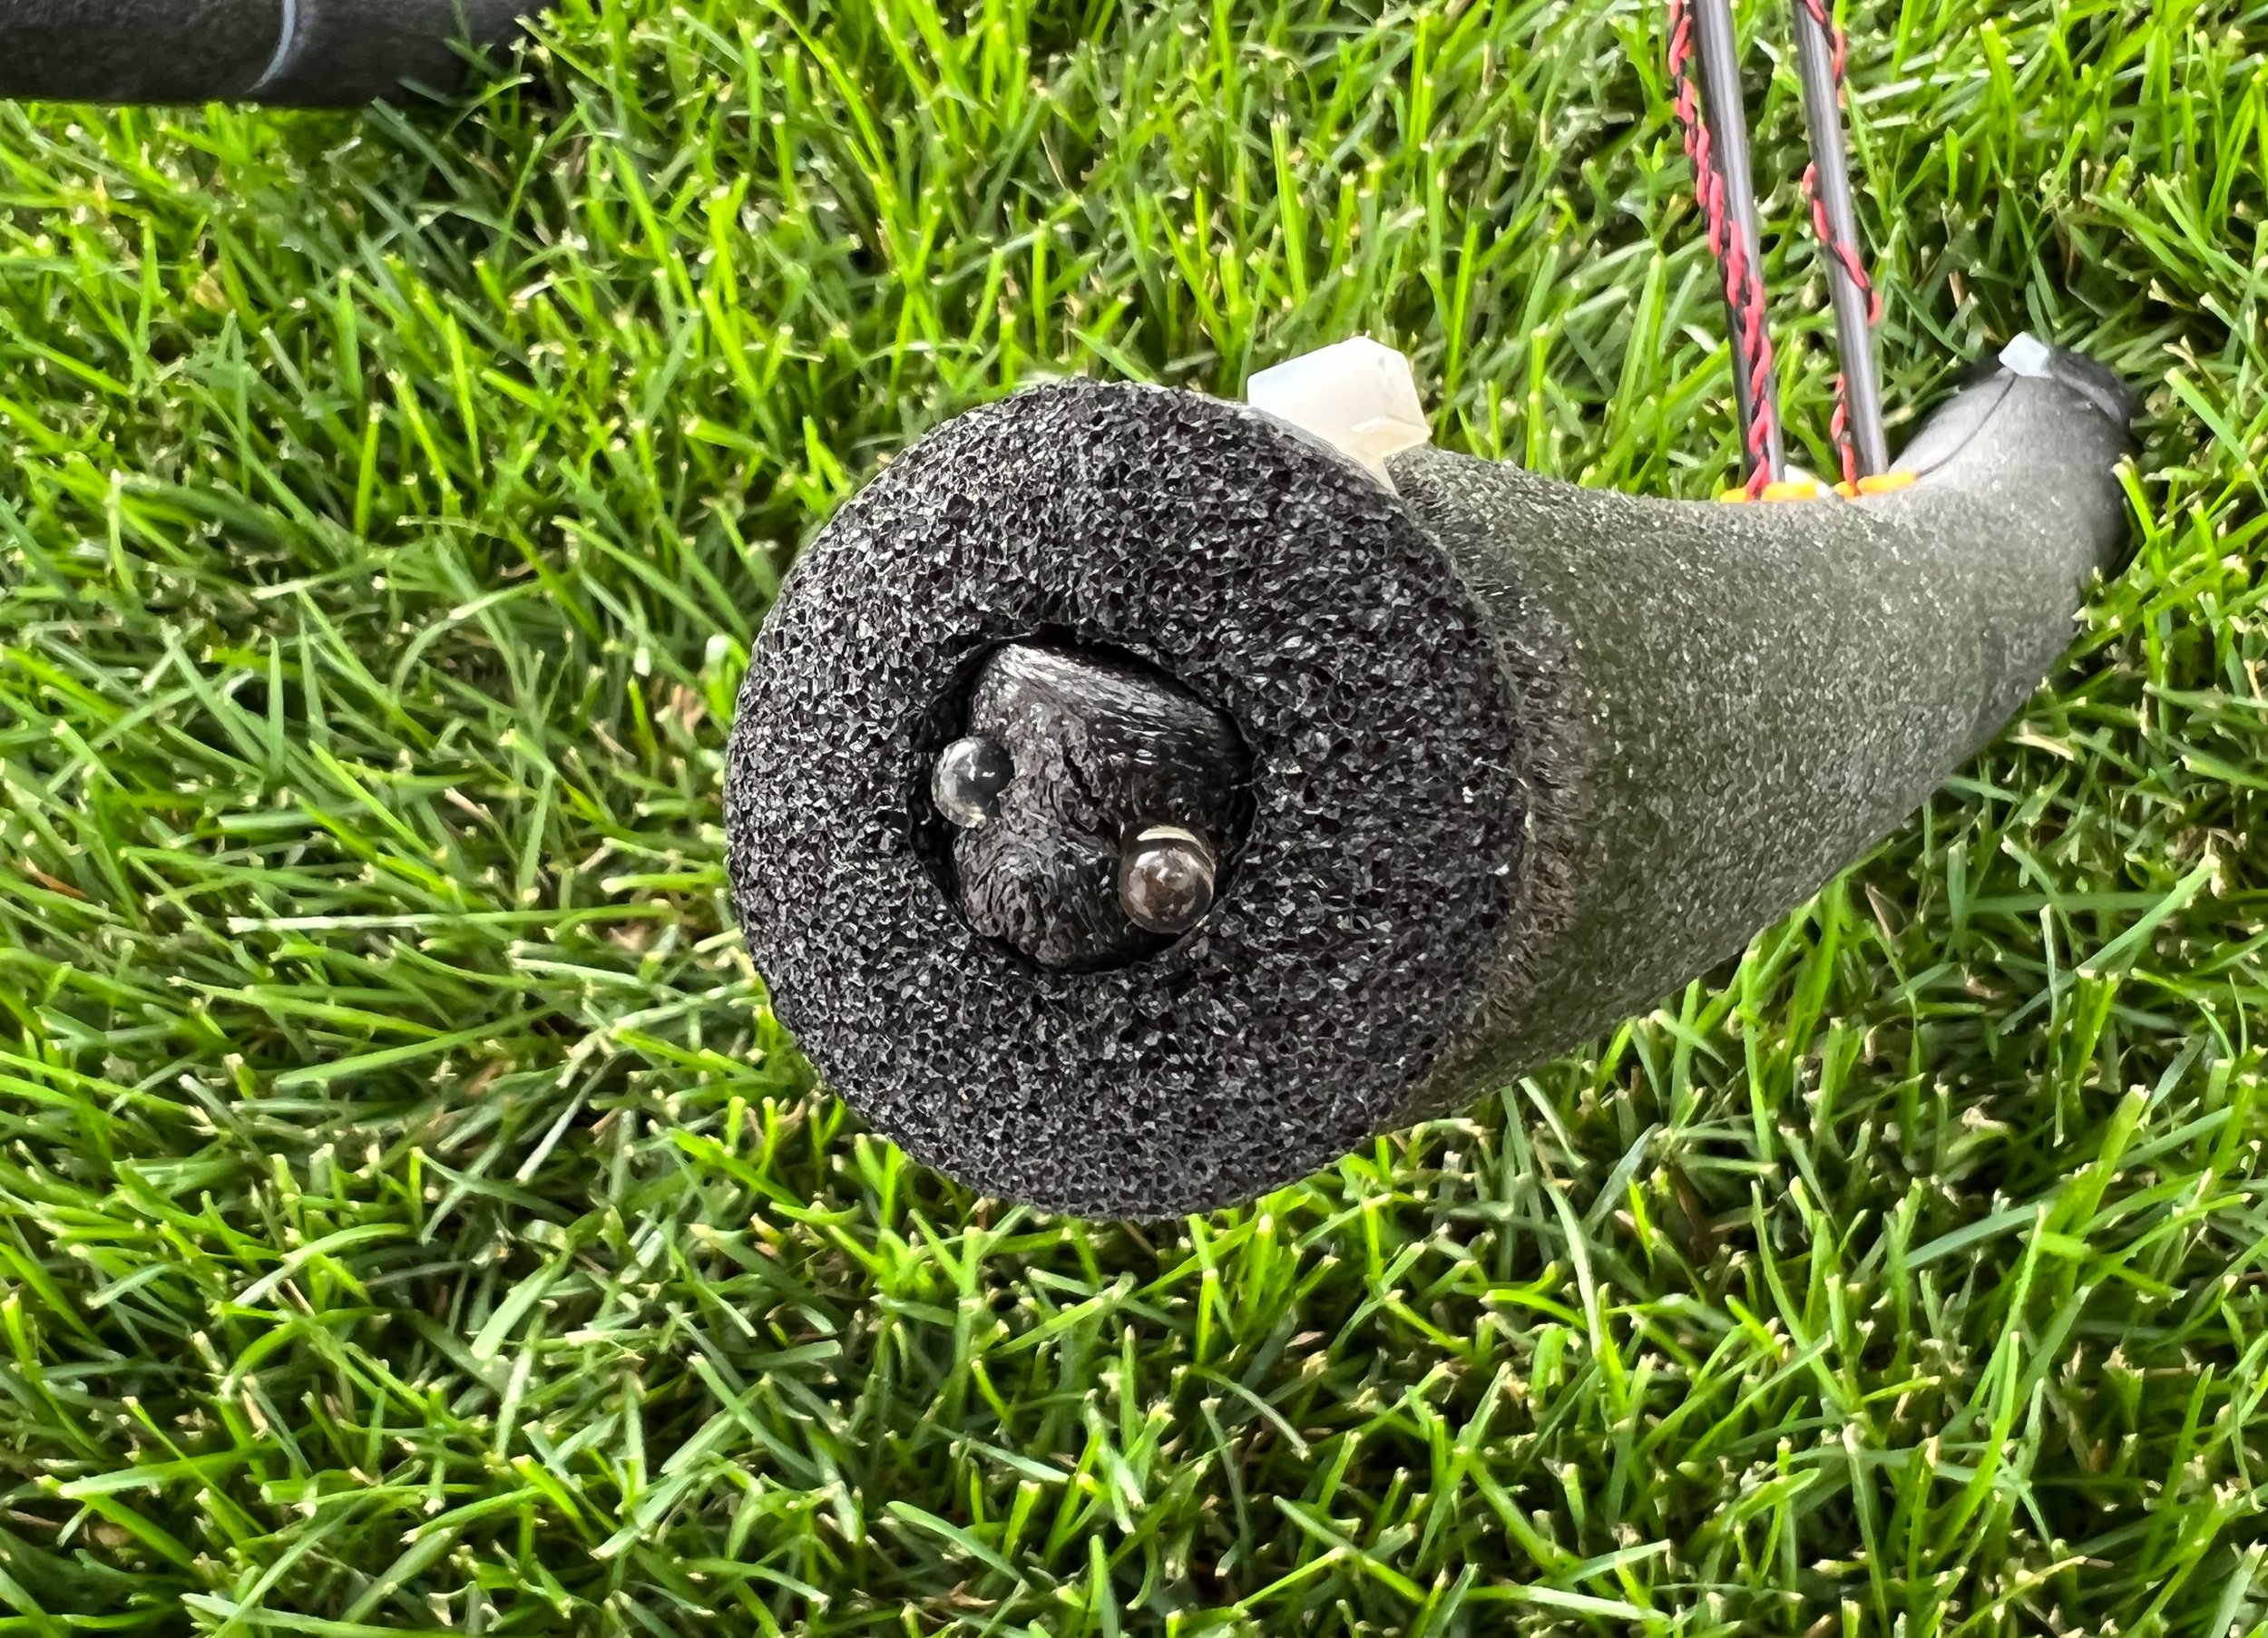
When I started my drone journey, I realized quickly that I needed an enticing ground station to impress bystanders. So, I decided to build a simple ground station that would receive my drone’s FPV camera stream, and also allow me to neatly pack all my supplies for my flights in one place. More interesting than the few switches, battery monitor, video receiver, signal splitter, video monitor, and power led was the path this project lead me on: my undergraduate research at the Creative Machines Lab.

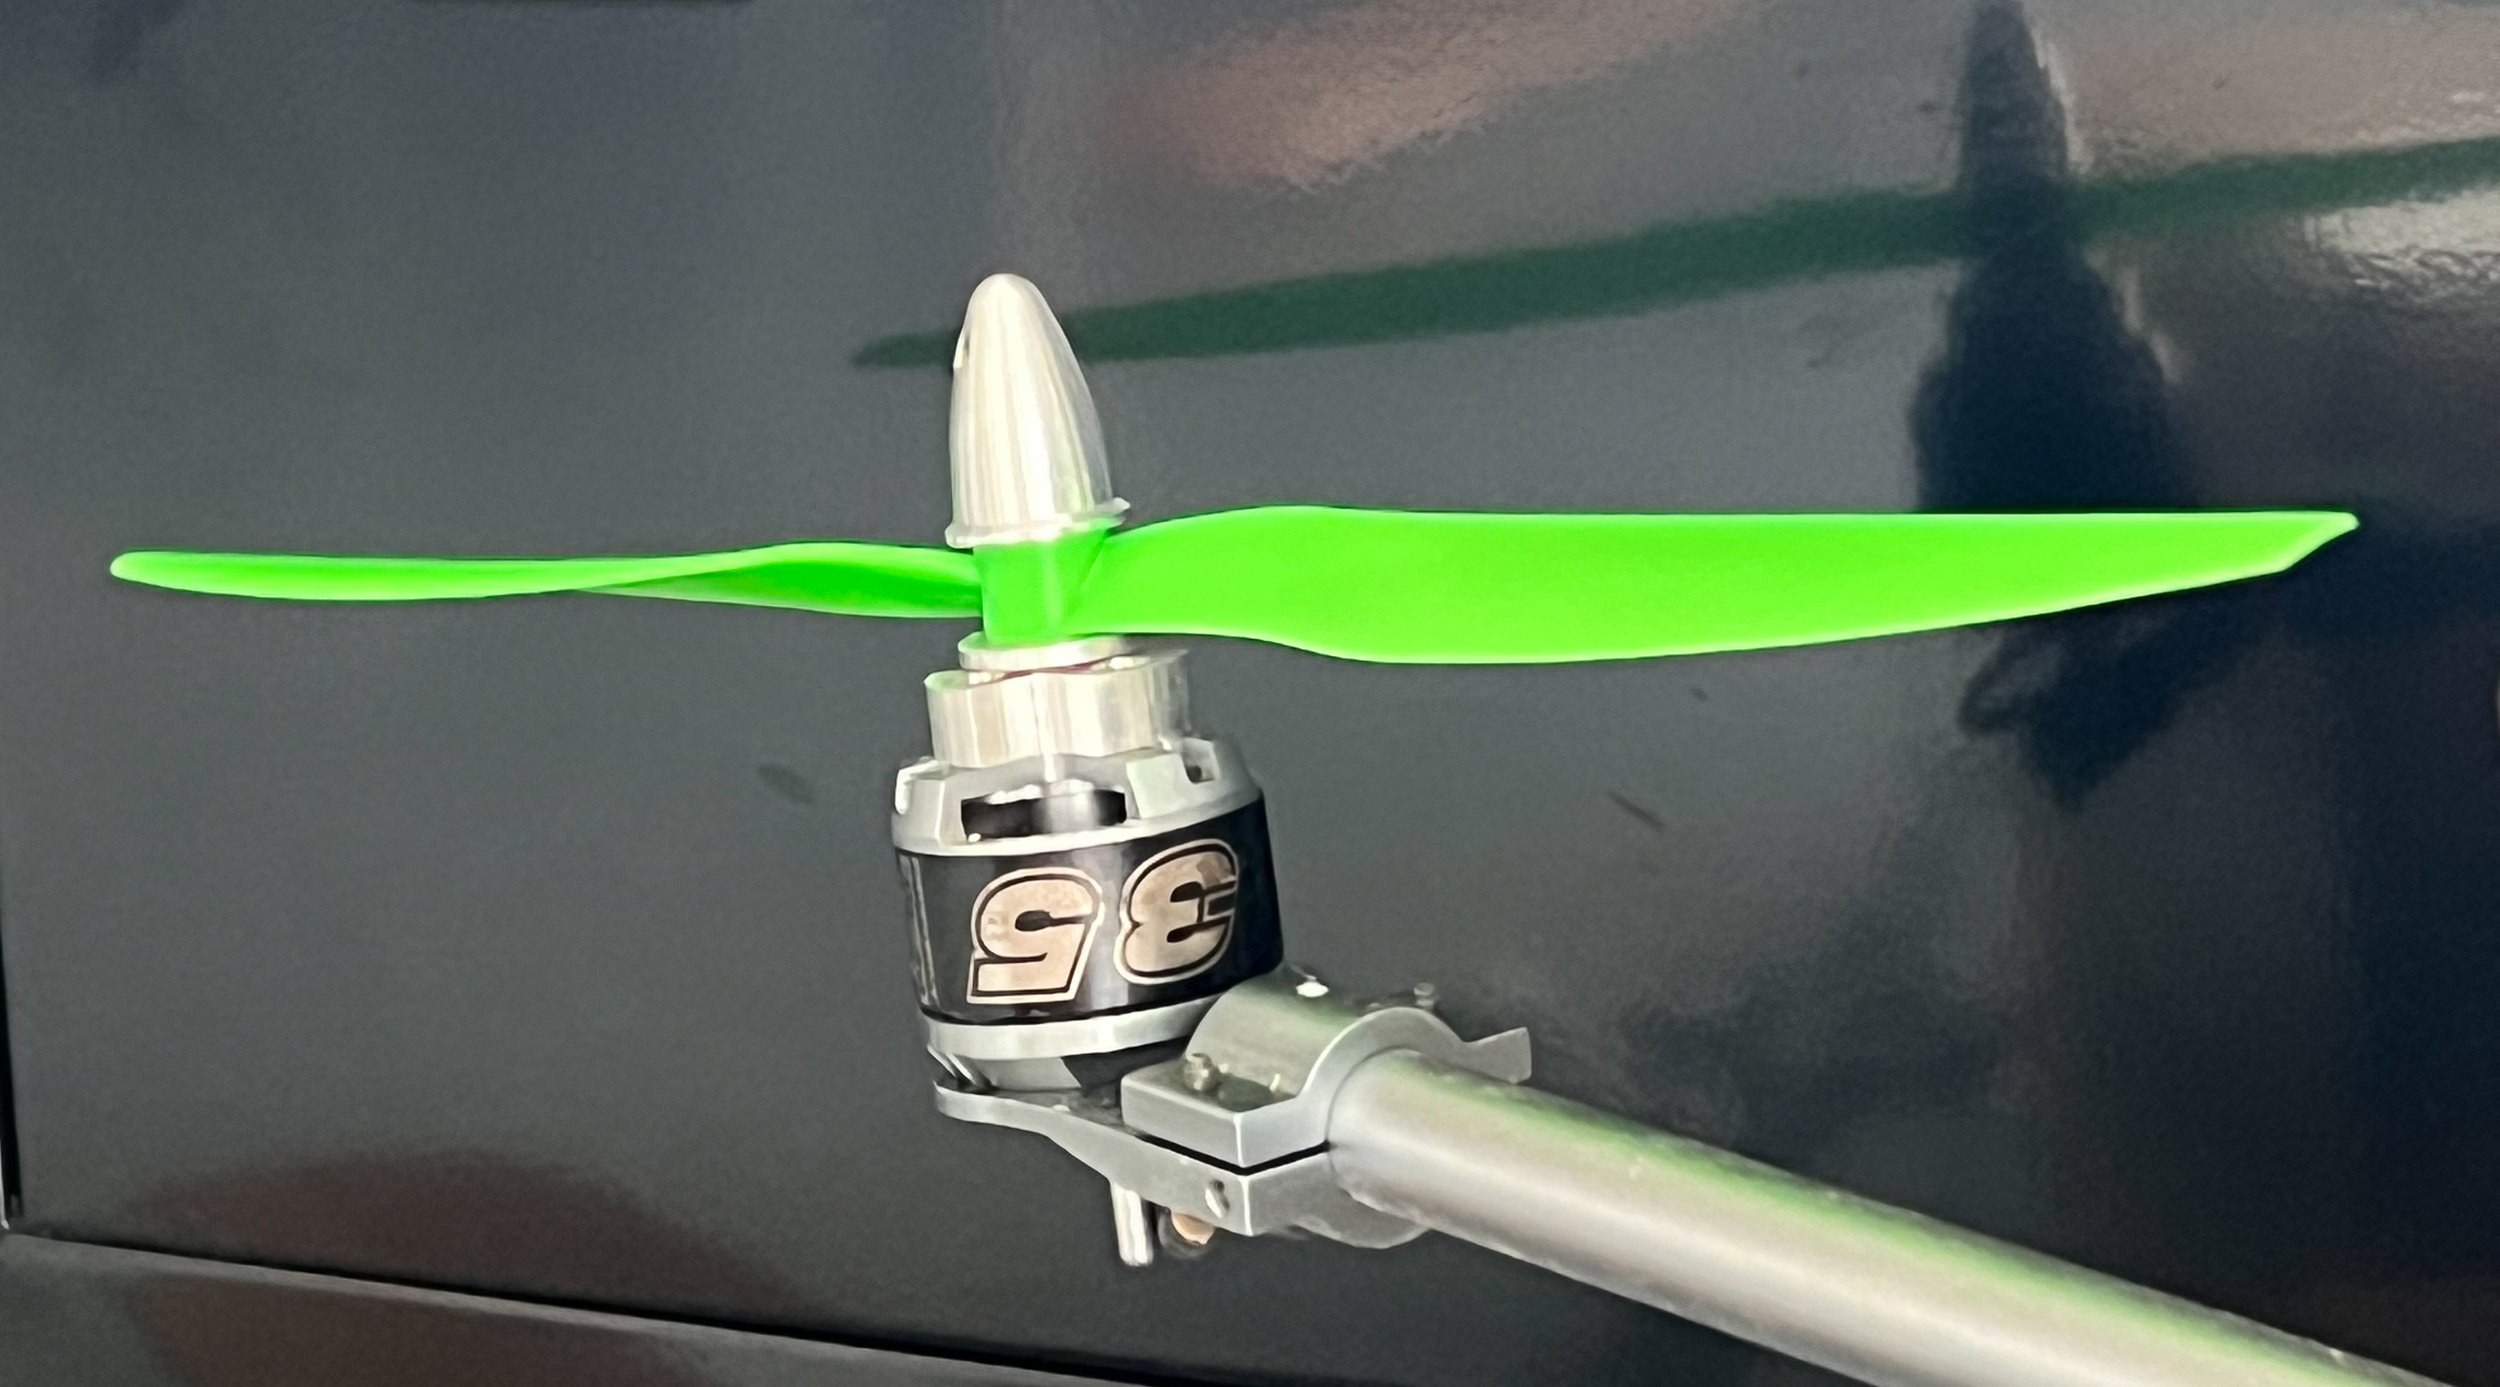
In 2014, I started by building a low budget 500 size quadcopter with 12-inch rotor blades inside my college dorm room. My goal was a camera platform for automated 3D aerial mapping as it is done today by the Skydio X2 drone. This learning experience taught me about flight controller firmwares such as ArduPilot and PX4, as well as different ground station software packages. My frequent excursions to the first incarnation of the Columbia Makerspace earned me the “drone guy” label.

Not everything went smoothly. One evening, after a long night of studying, I soldered a speed controller connector in reverse and caused my 5Ah 3-cell LiPo battery to discharge 150A of current due to the shorted circuit. Every affected solder joint melted instantly, and stranded cables fused and became sold wire. In a split second, I gained a lasting obsession with safety and a renewed fear of God.

Custom Folder Generator

CustomFolderGenerator.PNG

It all started when…

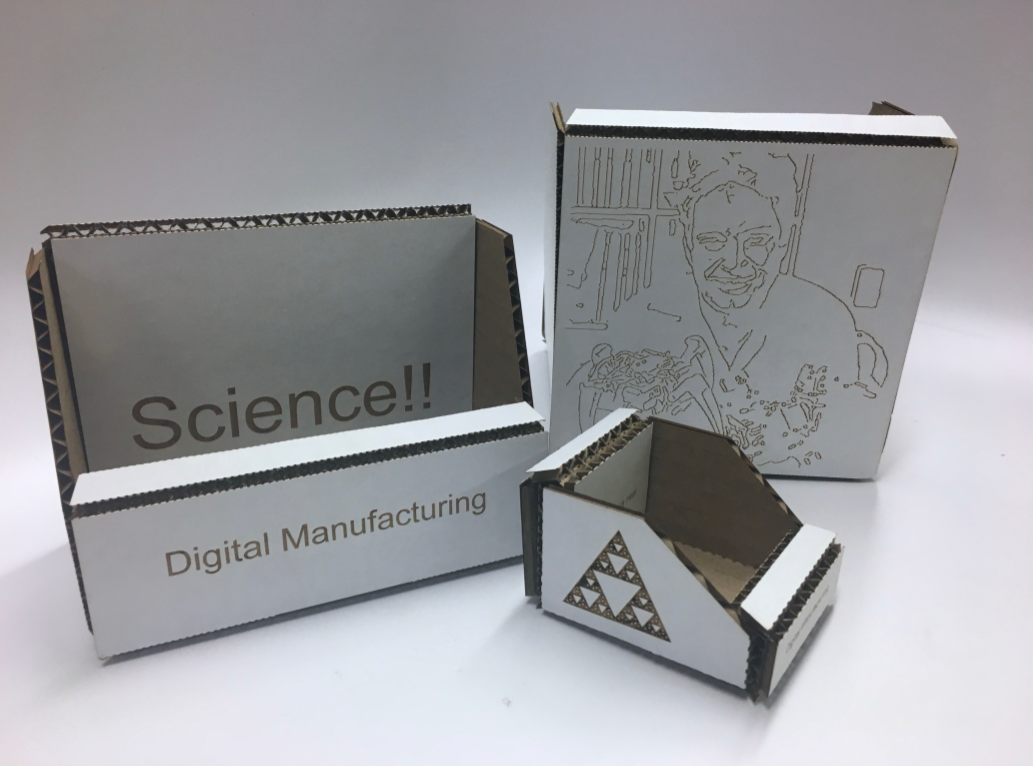
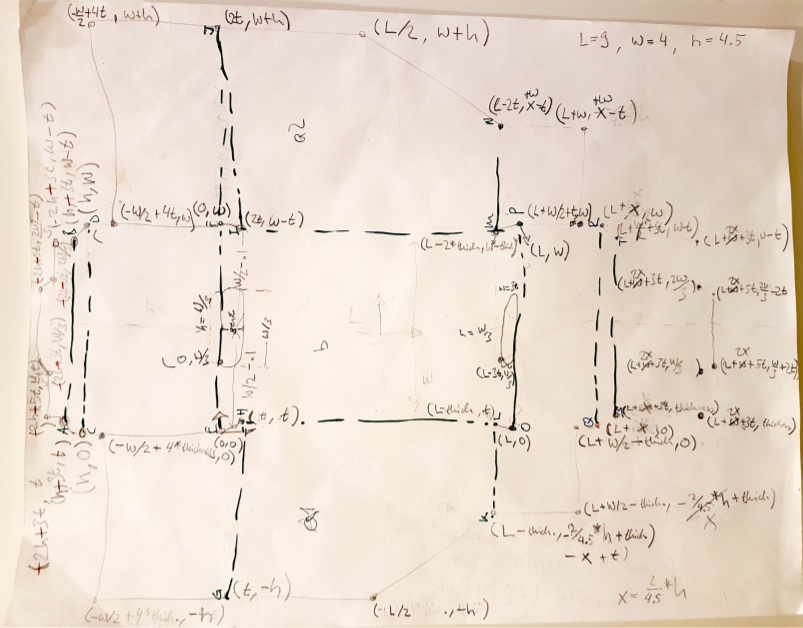
we were asked to write a script that would produce a custom flat-design for a file-folder based on user-defined dimensions and text. We extended our design to involve a mathematically generated Sierpiński triangle on one side of the box, and an image of the Professor teaching the class, Hod Lipson, holding his Spyndra robot.

The Un-Paxxter

Baxter arm with plastic blade end effector

Baxter arm with plastic blade end effector. For safety reasons the utility blade was not mounted on the robot.


For the Humanoid Robotics course (COMS E6731) at Columbia, our team developed a custom cutting gripper for the baxter that would allow the robot to cut open Amazon boxes. Initially the robot solely followed hardcoded position commands; later, it was programmed to use a depth camera to determine the location and orientation of the tape on the Amazon box. The project was developed using ROS, Python and C++. The computer vision aspects of the project were implemented with OpenCV. The project did not run smoothly. There were several instances where we lost time debugging system issues due to changes made to the shared computer dedicated to the robot by other users. Despite these challenges, we learned how to use ROS and appreciate all the help we received at the Columbia Robotics Lab.